Isn't it amazing what some simple sheets of paper, a few yards of fabric and a bunch of paper pom-poms can do to liven up your mood?
 (Picture from OnceWed.com)
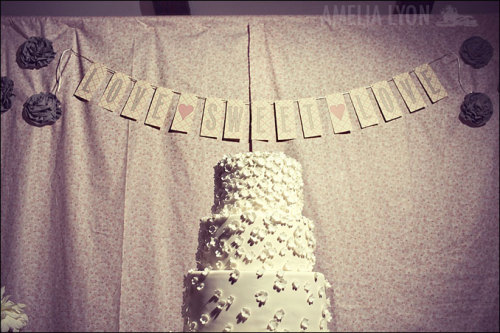
Seriously, paper pom-poms were the best, no-frill, low-cost decorations that anyone could ever come up with!
They look so gorgeous and immediately fill up empty spaces by beautifying with their poofy awesomeness!
They look so gorgeous and immediately fill up empty spaces by beautifying with their poofy awesomeness!
So for those who are keen on creating some pom-pom madness for a wedding or even just a fun, girly get-together, THIS IS THE SHIZZ FOR YOU!
Below, I've kindly ripped off a DIY tutorial from Once Wed (which is an awesome website by the way) for all your kindred paper crazy souls.
Below, I've kindly ripped off a DIY tutorial from Once Wed (which is an awesome website by the way) for all your kindred paper crazy souls.
 This is a supply of all the things you would need to proceed on with creating your ultimate pompom-mania scene.
Supplies:
1. cutting mat
2. twine - *only needed if you want to create an entire vine of pom-poms
3. craft paper - *only needed if you want to create an entire vine of pom-poms
4. assorted tissue paper - pick a colour theme, and run wild with your colour variations. Just remember to keep to the same colour family of your chosen theme.
5. scissors
6. floral wire


----------------------------------------------
Use as many pom poms, leaves, colors, and styles as you like to create the look you’re going for!
Change them up and you'd see what an amazing difference it makes to any space around a venue or even in your own home!

No comments:
Post a Comment